.webp)
|
|
Here, we will cover How to spin or rotate in Google Docs easily. You can spin it left or right until it seems the way you need. Whether for college, work, or a school project, this skill becomes accessible. If you’ve got a photo, it’s no longer pretty right—no issues. You can flip it around with a few clicks until it suits perfectly. While you can insert images using the iOS and Android mobile apps, adjusting their orientation requires a desktop browser. This guide will walk you through the simple steps of adjusting angles to create the best presentation. Let’s start by unlocking the power of rotating photos in Google Docs. Rotate Images in Google Docs How to Rotate an Image in Google DocsToo many users upload images in Google Docs because it is the best way to make their blog or articles more informative and look nicer. You can rotate images in Google Docs without much effort. Just follow the below steps to rotate the Image in Google Docs : How to Rotate Image Using the Rotation ControlStep 1: Open Google DocsOpen your default web browser and search “Google” in the search engine. On the Google homepage, see the nine-dot menu icon” Google apps” in the top right corner. Just click on it, then scroll down to select “Doc.” To directly open the Google Docs Click here  Open Blank Document Step 2: Click on Insert TabOnce in Google Docs, click on the “Insert” option in the top menu bar. 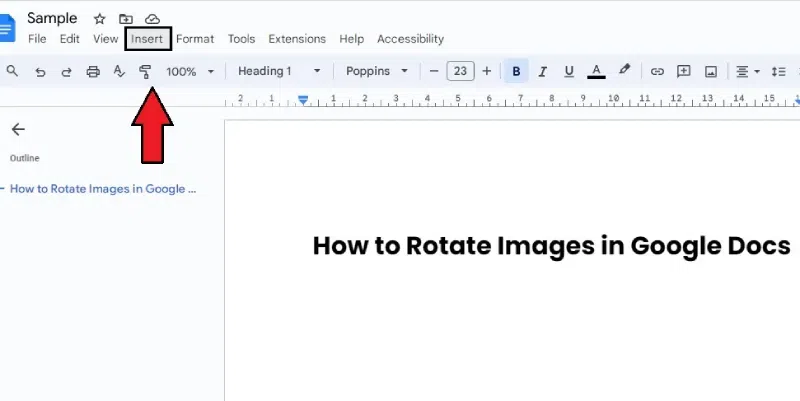 Click Insert Step 3: Upload ImageAfter clicking on “insert,” a dropdown menu opens. Select “Image” to upload an image from your laptop or PC. 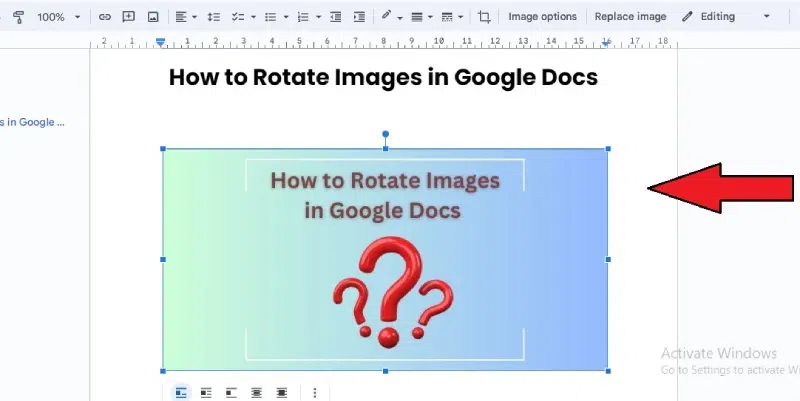 Insert >>Upload Image Step 4: Go to the Rotation Control and Rotate ImageAfter uploading the image, click on the blue dot and drag it throughout along with your cursor to rotate the image. 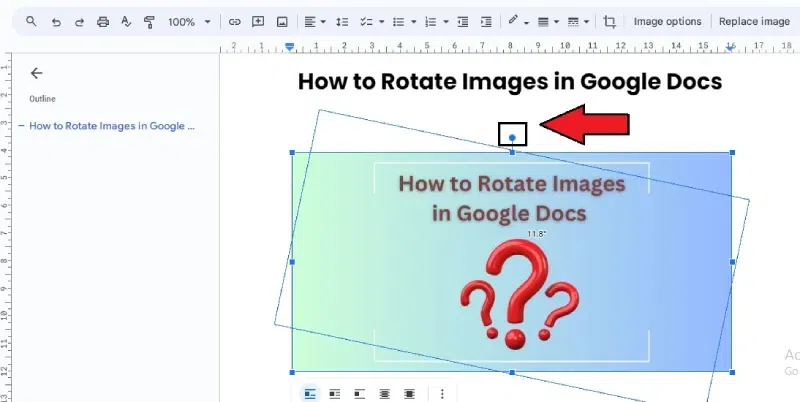 click on the blue dot and drag Step 5: Auto-SaveGoogle Docs Auto saves your record as you adjust it, so there may be no need to store it manually after rotating the image. 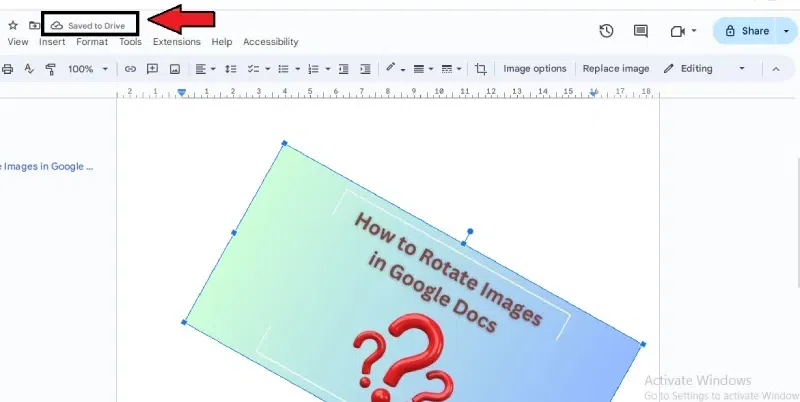 Auto-Save How to Rotate Images Using the Image OptionsIn Google Doc using rotation on image is much easier than while using the image option on it here are steps to know more : Step 1: Insert image on Google DocsOpen you file on Google docs and click at “Insert” menu to upload image. Insert image on Google Docs Step 2: Adjusting ImageSelect the image to see a blue border and a small menu below it. 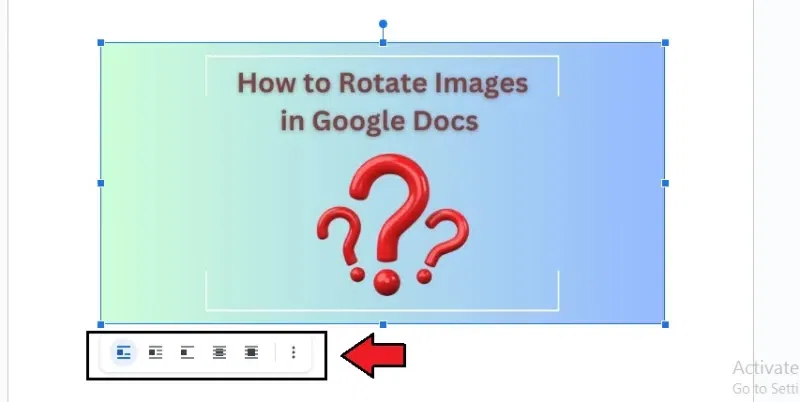 Click the menu below the image Step 3: Image Size and RotationSelect the Image Options icon (three vertical dots) and select Size & rotation. 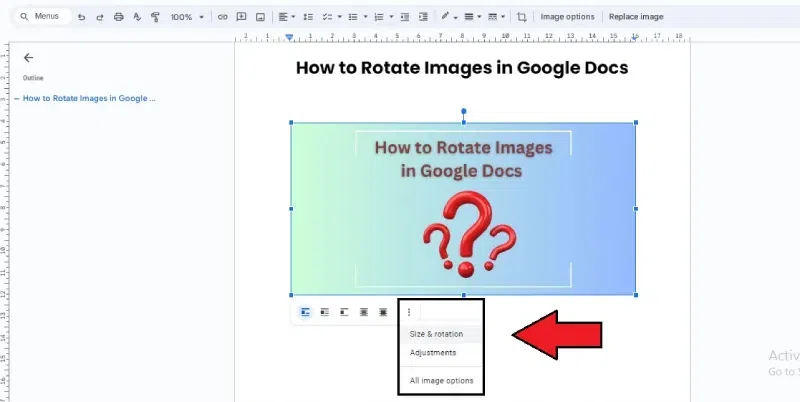 Image Size and Rotation Step 4: Adjusting Image Rotation and AngleThe Image options pane appears on the right side of the screen. Under the Rotate section, you can adjust the image angle by degrees or rotate it 90°. 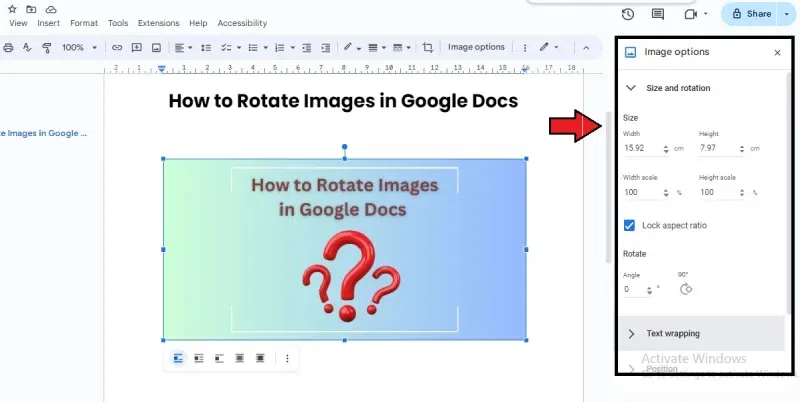 Adjusting Image Rotation and Angle Go to the Rotational Control  adjust the image angle by degrees Step 5: Save the Document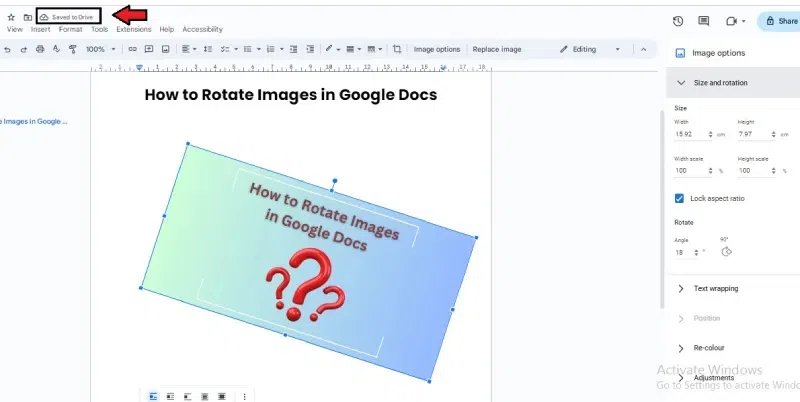 Preview Result How to Flip an Image in Google DocsStep 1: Insert image using Google Docs Drawing ToolTo insert an image into your document, click ‘Insert’ → ‘Drawing.’ Select ‘+ New’.  click ‘Insert’ → ‘Drawing.’ Select ‘+ New’. Step 2: Select the Image IconIn the Drawing dialog box that opens, choose the Image icon. And open the image. 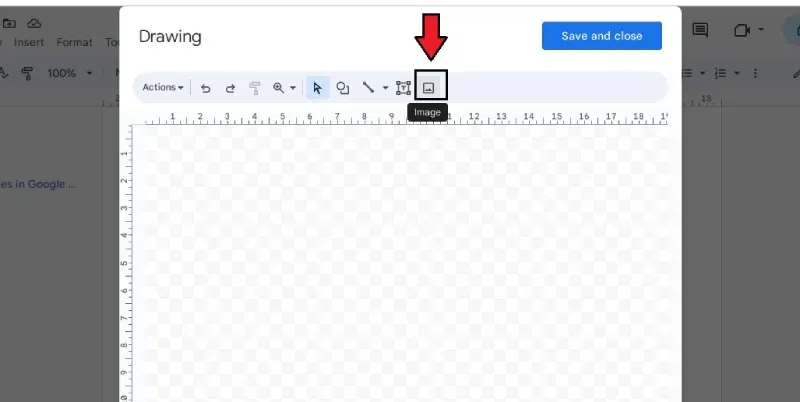 Select the Image Icon Upload the Image 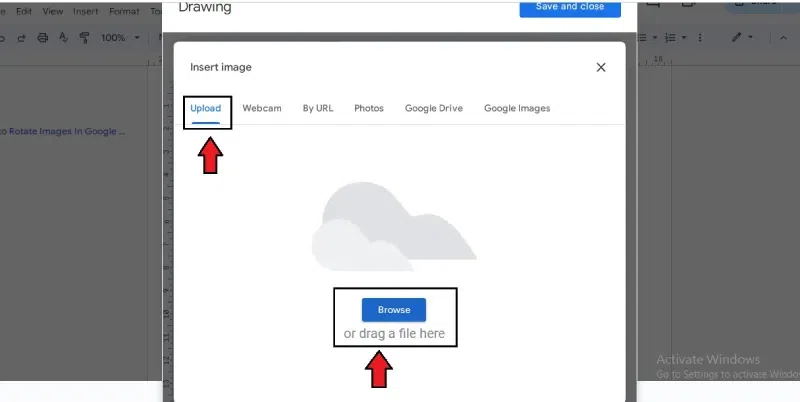 Upload image Select the Image from the Computer 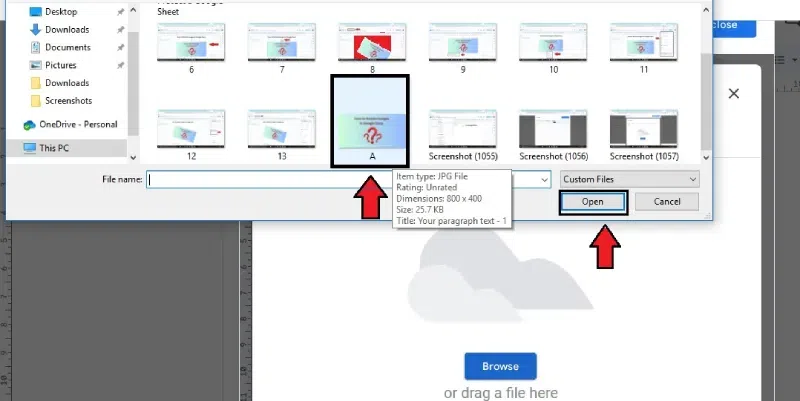 Choose Image Step 3: Accessing the Actions MenuIn the Drawing dialog box, select the Actions menu in the upper left corner. 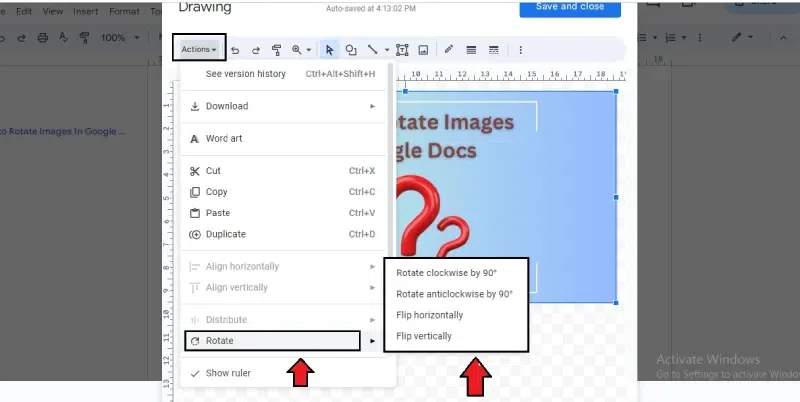 Accessing the Actions Menu Step 4: Flipping Images in Google DocsAfter clicking “Action,” select “Rotate,” then select Which side you want to flip vertically or horizontally. 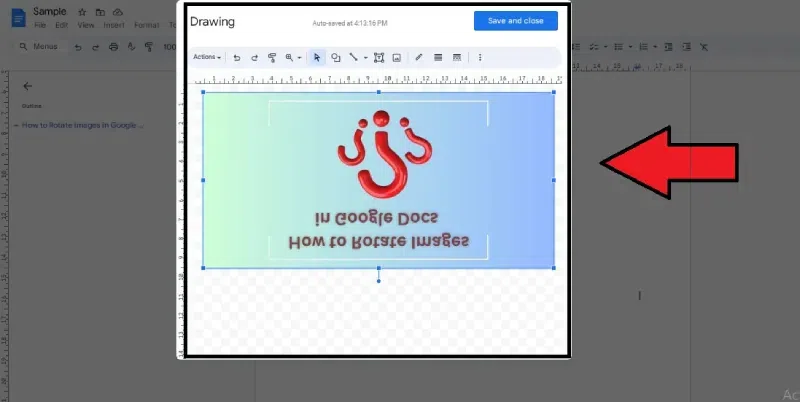 Flipping Images in Google Docs Step 5: Save ImageSelect Save and Close to insert the image into your document when finished. 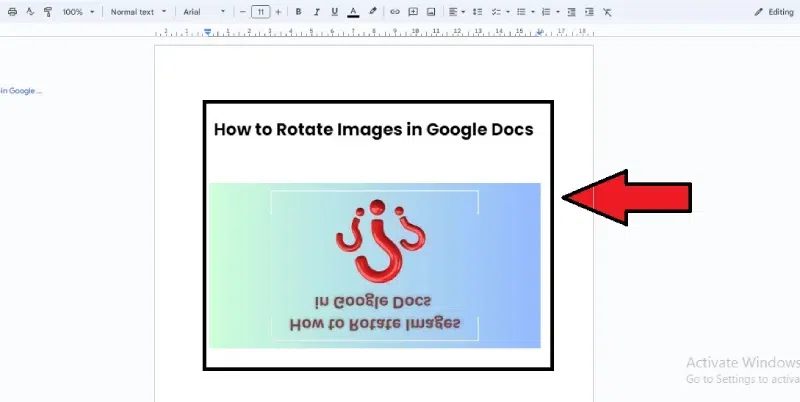 Save Image Why Rotate an image?Rotating a photo in Google Docs can improve your file’s visual attraction and layout. It allows you to adjust the turn of images to fit better with your text or overall design.Proper image rotation can make your content more engaging and professional-searching whether you are developing a presentation, file, or academic material. It helps align images with specific content sections, improving readability and main attraction. Additionally, rotating images can be crucial for highlighting details or creating a cohesive visual narrative.So, suppose you want your Google Docs to look neat and professional. In that case, studying to rotate images is a small but essential trick. Tips for rotating images in Google DocsUnlock the power of image rotation in Google Docs with these five handy tips! it doesn’t matter whether you’re a student, professional, or informal user; getting to know and mastering these techniques can elevate the visual impact of your documents. Follow the below tips: Drawing Tool Tip: While you need to upload a picture in Google Docs to rotate the photo, go to “Insert” then “Drawing,” then choose an image that you need to rotate, then click on “Action,” then select “Rotate” to show the pictures in 90 degrees. Resize for Fit: To ensure that your photo fits well, click and drag the blue squares around it. This lets you adjust the size to fit your document perfectly. Flip for a Change: If you need to turn your photo horizontally or vertically, go to the “Actions” inside the Drawing tool, click “Rotate,” and select your flip direction. ConclusionLearning to rotate images in Google Docs is a good way to make your files look proper. Using tools like the Drawing Tool and Image Options, you can adjust the rotation, length, and turn image to fit your document’s structure. Whether you are a student, a professional, or simply using Google Docs for personal purposes, these simple tricks can be very useful for creating attractive documents. It’s also about improving readability and highlighting important details. FAQs on How to Rotate Images in Google Docs
|
Reffered: https://www.geeksforgeeks.org
| Google Docs |
| Related |
|---|
| |
| |
| |
| |
| |
Type: | Geek |
Category: | Coding |
Sub Category: | Tutorial |
Uploaded by: | Admin |
Views: | 21 |