|
|
Google Docs, a favorite among the over 2 billion Google Workspace users, offers various formatting options to enhance document readability and presentation. One such feature is text wrapping, which allows text to flow around images or other objects, creating a cleaner and more engaging layout. In this article, we will see the steps to Wrap Text in Google Docs for laptop or computer devices, and also for mobile devices.
What is Text Wrapping in Google DocsText wrapping refers to the way text flows around or interacts with an image or object in a document. Go through the article to learn how to wrap text around the image in Google Docs. Text wrapping determines how an object within your document interacts with the text surrounding it. You have various choices to control how closely the text wraps around the object. Start by choosing an image and then pick a text wrapping option. Different Methods to Wrap Text in Google DocsIn Google Docs, you have several options for text wrapping around images, similar to those found in Microsoft Word. There are five image-wrapping choices in Google Docs: 1. Inline with textThis is the default setting, aligning the image with the surrounding text, so it appears within lines of text. 2. Wrap textWith this option, you can place the image anywhere in your document. If you position it within a paragraph, the text will wrap around the image, creating space for it. However, you cannot place an image before the text; it will always wrap the text. 3. Behind textThis setting positions the image behind the text, allowing you to place it anywhere in your document. If text overlaps the same area, the image will be hidden beneath it. 4. Break textUnlike the wrap text option, this choice enables you to add the image anywhere on the page. It won’t affect the spacing between words but will break and rearrange lines to accommodate the image. 5. In front of the textSimilar to the “behind text” option, this setting lets you insert the image anywhere in your document, even over areas with text. When placed on top of the text, the image will appear in front of it. How to Upload an Image in Google DocsStep 1: Launch Google DocsOpen Google Docs in your web browser.  Opening Google Docs Step 2: Open Google DocumentOpen an existing document or create a new document in which we can add the content.  Opening the Document Step 3: Select the AreaNow in our Google document select the area where we need to insert the image and wrap it into the text.  Selecting the Area Step 4: Click on Insert TabNavigate to the Insert tab, multiple drop-down options will be displayed. From this option, we need to select an image, and we need to upload the image from your computer. Or we can also upload it from different sources.  Click on Insert Tab> Select Image Option Step 5: Select and Upload the ImageOnce you click the “Image” option, a small window will appear. From there, choose the picture you want to put into your document. In the screenshot below, you can see that we’ve picked the image, and now we’re going to add it to our document.  Selecting and Uploading Image How to Wrap Text in Google DocsStep 1: Select the Uploaded Image and Click on Wrap Text IconAfter the image is placed in your document, click on the image. Once you have done that, various icons will appear. Choose the “wrap text” icon as per your preference.  Selecting the Image and Clicking on Wrap Text Step 2: Preview Wrap TextAfter selecting the wrap text option, our image is wrapped between the text in proper alignment and the proper layout. 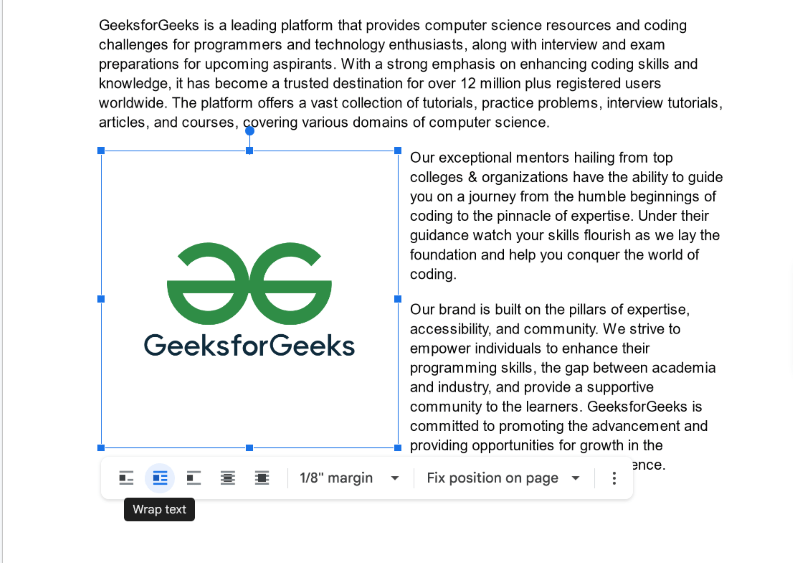 Wrap Text done successfully How to Wrap Text in Google Docs on MobileStep 1: Launch Google Docs on your Mobile DeviceOpen the Google Docs App on your Mobile Device Step 2: Open the Google DocumentChoose a document from your list as per your preference, and then proceed to open the specific document for which you wish to handle the outline. Simply click on the chosen document to access it.  Selecting Document to be Opened Step 4: Click the Edit ButtonNow that the document is open, you’ll want to locate and click on the blue pencil icon positioned at the bottom of the screen. This icon signifies that you are about to make edits to the document. Click on it to begin editing.  Clicking on Edit Icon Step 5: Click on Insert (+) IconFor inserting the image in our Google document through a mobile device, we need to click on the insert icon that is situated on the top side of the screen.  Clicking on Insert Icon Step 6: Click on Image Option and Upload from your deviceAfter selecting the insert option multiple sub-options will be displayed from these. We need to select the image option and upload the image as per our choice or need from a mobile device. 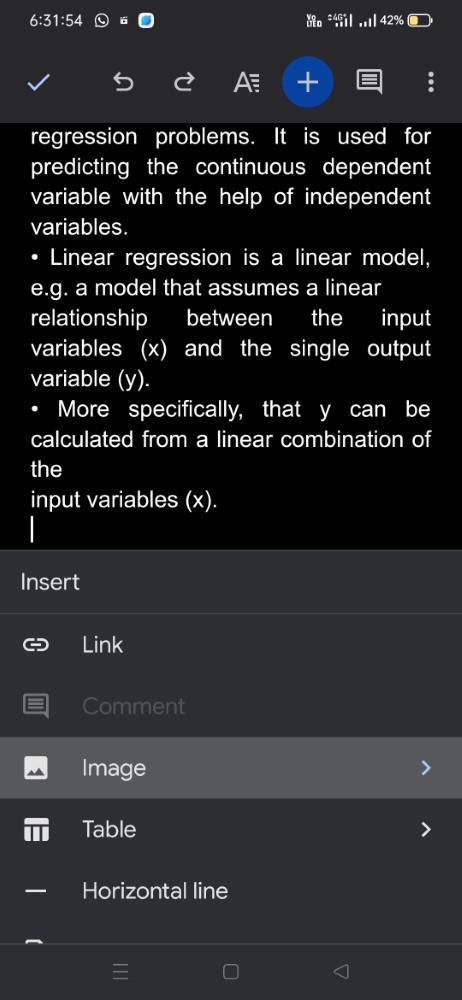 Selecting Image option and Uploading Image Step 7: Select the ImageOnce you’ve inserted the image into your document, proceed by selecting the uploaded image. 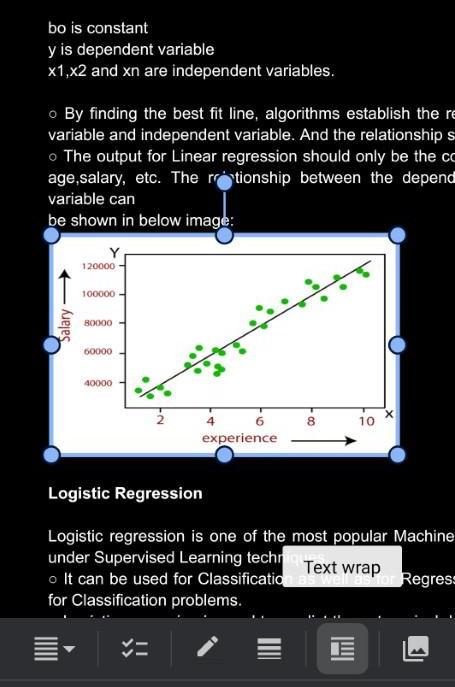 Select the Image > Click on Wrap Text Step 8: Select Text Wrap OptionUpon clicking the icon, you’ll access various text wrapping options such as inline, wrap text, break text, behind text, and more. To proceed, select the “wrap text” option from this list.  Selecting Wrap Text Option Step 9: Preview Wrap TextAfter selecting the wrap text option, our image is wrapped between the text in proper alignment and the proper layout.  Text Wrap has done Successfully Keyboard Shortcut for Text Wrapping Around Images in Google DocsThere is not a direct one, but you can open the image options menu by clicking the image and using the following keyboard shortcut: Alt+O, M, J
ConclusionIn conclusion, the feature of rap text in Google Docs helps us to adjust the actual positioning of images in our document without ruining the flow of our actual or main content This feature can be also performed on Google sheet and Google Slides We just need to select the inline with text option under the text wrapping tab to get things back to the normal, initial state. This feature allows us to properly integrate text with images or other elements in our document by actually improving its presentation and visual layout. How to Wrap Text in Google Docs? – FAQsHow to wrap text in Google Docs on Mac?
Where is text wrapping in Google Docs?
Can we wrap text in columns or tables?
What is the main difference between “Wrap Text” and “Break Text”?
|
Reffered: https://www.geeksforgeeks.org
| Google Docs |
Type: | Geek |
Category: | Coding |
Sub Category: | Tutorial |
Uploaded by: | Admin |
Views: | 16 |